Streamlining Creative Workflows: Simple IT Automations for Agencies That Don’t Have Developers

If your agency lives in Slack, Google Drive, and project boards all day, you already have most of what you need to automate the boring parts of work—without hiring developers or learning to code.
This guide walks through practical, low‑tech automations any small or mid‑sized creative, marketing, or design agency can set up using off‑the‑shelf tools. We’ll focus on three areas:
- File handovers
- Approvals and reviews
- Reporting
For each, you’ll see real examples, tools you can use, risks to be aware of, and how to keep everything maintainable.
Before You Start: A Simple Mindset Shift
Automation isn’t about “robots taking over.” Think of it as:
- “If this happens, then do that automatically.”
For example:
“If a designer marks a task as ‘Ready for Client’ in Asana, send the client an email with the file link.”
Most modern tools already have this “if this, then that” logic built in. Where they don’t, no‑code platforms like Zapier, Make, or IFTTT can fill the gaps with simple, visual workflows.
You don’t need IT staff. You do need:
- One or two “tool owners” willing to click around settings and follow help articles.
- Agreement on a few basic conventions (folder names, status names, etc.).

1. Automating File Handovers
The Problem
In many agencies, handovers are messy:
- Designers drop files in random folders or send them in Slack.
- Account managers chase links and version numbers.
- Clients receive the wrong file or an outdated version.
At a 12‑person branding studio, the creative team might finish assets Friday afternoon, but the account manager doesn’t know they’re done until Monday. Deadlines slip, and everyone blames “communication.”
Starter Automation: “Client‑Ready Folder” Alerts
Let’s create a simple flow:
When a file is placed in the “Client‑Ready” folder, notify the right people with the link.
You can do this with:
- Google Drive or Dropbox for files
- Slack or email for notifications
- Zapier or Make for glue (if your storage tool doesn’t notify the way you want)
Example with Google Drive + Slack + Zapier
Goal: When a designer moves a file into Client-Ready > [Client Name], post a Slack message in the account team’s channel with the file link.
Step‑by‑step (no code):
- Create a clear folder structure in Drive
- At the top level:
Clients - Inside:
Client Name > 01_Work-in-Progressand02_Client-Ready
Agree as a team: “Only final, approved files go intoClient-Ready.”
- At the top level:
- Set up a shared Slack channel per client
For example:#client_acmewith the account team and any senior stakeholders. - Connect Google Drive and Slack to Zapier
- Sign up to Zapier (free tier is often enough to start).
- In “My Apps,” connect your Google Drive and Slack accounts.
- Create a Zap (automation) in Zapier
- Trigger app: Google Drive
- Trigger event: “New File in Folder”
- Choose the
Client-Readyfolder (or a parent folder and filter by path). - Action app: Slack
- Action event: “Send Channel Message”
- Message template:
“New client‑ready file for {{Client}}: {{File Name}} – {{File URL}}”
- Test with a dummy file
Move a test file intoClient-Readyand confirm the Slack notification appears.
Once this is running, designers only need to move files into the right folder; they don’t have to remember who to ping. Account managers see new deliverables immediately and can forward the link to the client or include it in their own update emails.
Variation: Email the Client Automatically
If you’re comfortable with clients getting file links directly:
- Replace Slack as the action with Gmail or Outlook.
- Use a template like:
“Hi {{Client First Name}}, your new assets for {{Campaign Name}} are ready: {{File URL}}.”
You may want to still send from a generic account (e.g., [email protected]) so it feels consistent and can be monitored.
Limitations, Costs, and Security Notes
- Costs:
- Google Drive / Dropbox: typically already in your SaaS stack.
- Zapier: free tier has limited runs (“tasks”) per month; paid tiers start modestly but can grow with usage.
- Security:
- Make sure file sharing permissions are set properly. Avoid “Anyone with the link can edit” for sensitive work.
- Prefer client‑specific shared drives/folders instead of public links.
- Limitations:
- Free automation tiers often have a 15‑minute delay on triggers. For most agencies, that’s fine.
- Some tools only watch a single folder at a time; you may need one automation per main folder.
Keeping File Automations Maintainable
For non‑technical teams, clarity beats cleverness:
- Use simple, consistent folder names.
Examples:01_Inbox,02_In-Progress,03_Client-Ready,99_Archive. - Document the rules in one place.
A simple Notion or Google Doc: “When you move a file toClient-Ready, the automation notifies X. Don’t put drafts here.” - Assign an “owner” for each automation.
Note who set it up, and how to turn it off if something goes wrong. - Review quarterly.
Once a quarter, spend 30 minutes checking: “Are we still using this? Is it sending to the right channel or people?”

2. Automating Approvals and Reviews
The Problem
Approvals are often where projects slow to a crawl:
- Different people use email, Slack, and comments in Figma.
- No one knows who actually has to sign off.
- Feedback gets lost, and teams work on outdated versions.
At a 20‑person performance marketing agency, you might have ad copy in Google Docs, images in Figma, and landing pages in Webflow. Approvals happen half in Slack, half in comments. When a client later asks, “Who approved this?” no one can find a clear trail.
Starter Automation: “Approval Steps” in Your Project Tool
Most project/work management tools have basic workflows. Let’s use them as the backbone for approvals, then add simple notifications.
Goal:
When a task is moved to “Needs Client Approval,” automatically:
- Notify the account manager
- Share a review link with the client (or remind the account manager to send it)
- Track when it gets approved
This can be done inside tools like Asana, Trello, Monday.com, or ClickUp, often with built‑in automation.
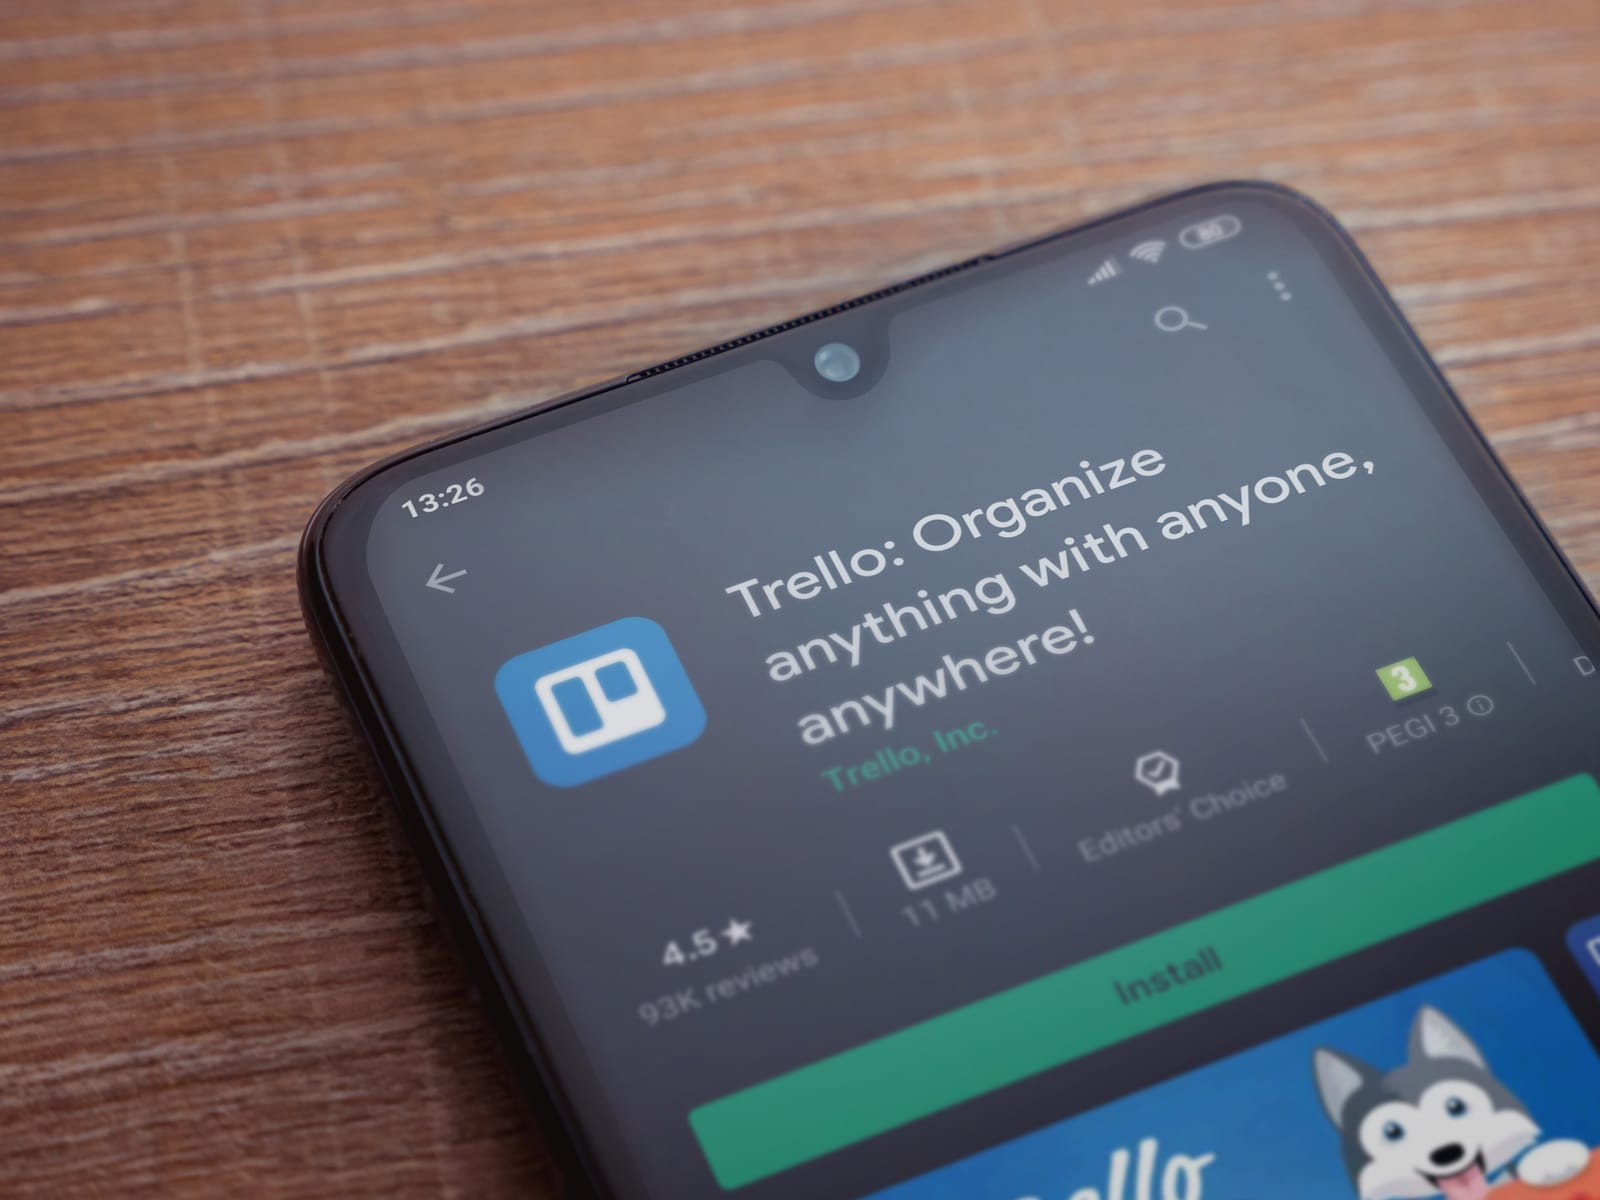
Example with Trello + Email (or Slack)
Imagine a Trello board with lists:
- Briefed
- In Progress
- Internal Review
- Needs Client Approval
- Approved
- Live
Step‑by‑step:
- Standardize your card fields
On each card, add fields for:- Client name
- Deliverable type (e.g., “Facebook ad set,” “Landing page”)
- Client approver email
- Use built‑in Trello automation (Butler)
Trello’s “Butler” lets you add rules without code.Create a rule:If you prefer Slack:- When a card is moved into “Needs Client Approval”
- Then send an email to the card’s “Client approver email” with:
Subject: “Approval needed: {cardname}”
Body: “Hi, please review this deliverable: {attachmentlink}” - Same trigger, but the action posts a message to
#client_[name]mentioning the account manager.
- Attach the right review link
- For designs in Figma or Adobe CC: attach the share link in the card.
- For video in Frame.io: attach the review link.
- For copy in Google Docs: attach the doc.
- Track approvals in the card
Agree on a simple rule:- When client approves, move the card to “Approved.”
Optionally, add a checkbox “Client approved (date)” in the card custom fields.
- When client approves, move the card to “Approved.”
Now the “state” of the work (where the card sits) becomes your approval status. No one has to remember to send separate emails; the system does it when the card moves.
Example with Asana + Email
In Asana, you can:
- Create a section “Client Approval Pending.”
- Add a custom field “Client approver email.”
- Use Asana Rules to:
- When a task moves to “Client Approval Pending,” send an email via Asana or add a comment that tags the account manager.
If you need more flexibility, connect Asana to Zapier and send a more customized email.
Limitations, Costs, and Security Notes
- Costs:
- Trello, Asana, Monday.com, ClickUp: basic plans are affordable; some automations only on paid tiers.
- Frame.io, Filestage, and others: have user‑based or project‑based pricing.
- Security & privacy:
- Be careful with sharing Figma or Frame.io links. Use “invite‑only” or password‑protected links for sensitive campaigns.
- Make sure client emails are correct—automations don’t “double‑check” sensitive recipients.
- Limitations:
- Approvals via email can still get buried. Some clients prefer a single portal (e.g., Filestage, Frame.io) where all approvals live.
- Watch for “tool sprawl.” Try to centralize approvals in one or two platforms.
Keeping Approval Automations Maintainable
- Define one official approval path per deliverable type.
E.g., “All social creatives go through Trello → Figma → Client email from Trello.” Don’t improvise each time. - Name statuses clearly.
Use “Needs Internal Review” and “Needs Client Approval” instead of vague “Review.” - Create a short how‑to for clients when you use new tools.
If you introduce Filestage or Frame.io, send a 1‑page “How to review” PDF or Loom video. - Log exceptions.
If a major client insists on email‑only approvals, note that in a “Client Profile” doc so you don’t try to jam them into your standard flow later.
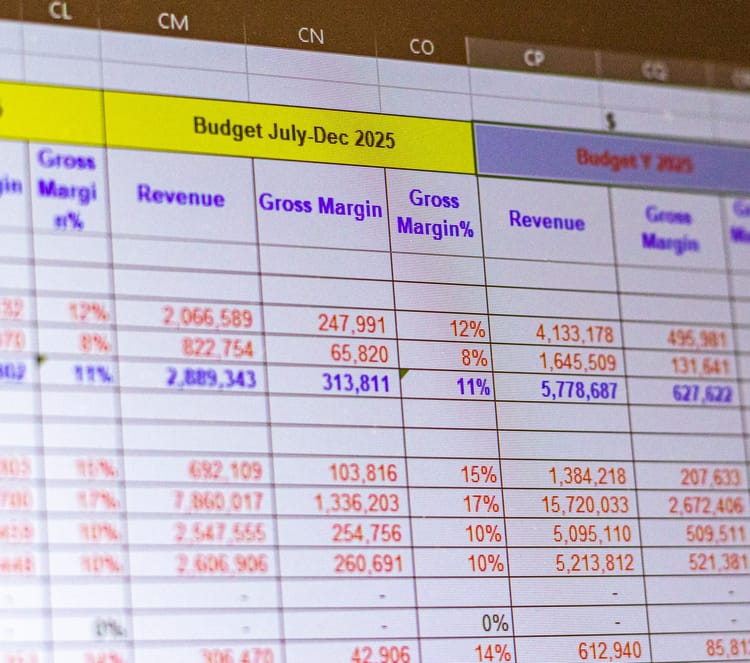
3. Automating Reporting
The Problem
Reporting is often the most manual, repetitive part of agency life:
- Friday afternoons disappear into copying data into slides.
- Different teams use different formats.
- Utilization and timesheet reports are assembled by hand, and leadership sees them weeks late.
At a 15‑person content agency, the ops manager might spend 6–8 hours a week pulling:
- Project status from Asana
- Hours from Harvest
- Campaign metrics from Facebook Ads and Google Analytics
- Then manually building slide decks for clients and leadership.
Starter Automation: Central “Reporting Sheet” That Updates Itself
You don’t need a full BI platform to improve this. A humble Google Sheet, updated automatically, can do a lot.
Example: Status and Timesheet Reporting with Google Sheets + Zapier
Goal:
Feed project and time tracking data into a Google Sheet or dashboard automatically, then use it to create weekly status or utilization views.
Tools that can plug in:
- Project tools: Asana, Trello, Monday.com, ClickUp
- Time tracking: Harvest, Toggl, Clockify
- Reporting: Google Sheets, Looker Studio, Notion
Step‑by‑step for a basic project status sheet:
- Create a master Google Sheet
Tabs could include:Projects,Tasks,Time Logs.
Agree which columns matter: client, project, status, owner, start date, due date. - Connect your project tool to Google Sheets via Zapier or native integrations
Example with Asana:- Trigger: “New Task” in a specific project.
- Action: “Create Spreadsheet Row” in Google Sheets (in the
Taskstab).
Map fields: task name, project, assignee, due date, status.
- Update rows when status changes
- Set another automation: trigger on “Task updated” or “Moved to column” (Trello).
- Use a unique task ID in the sheet so the automation can find and update the right row.
- Build simple summary views
In the Sheet, use filters and pivot tables rather than manual copying:- “All tasks due this week by client.”
- “Tasks in ‘Blocked’ status per project.”
You can also connect this Sheet to Looker Studio for prettier visuals if you’d like.
- Automate weekly email snapshots
Tools like Looker Studio can email a PDF of key charts weekly.
Alternatively, use a Zap:- Trigger: every Friday at 3pm (Schedule by Zapier).
- Action: send an email to leadership with a link to a filtered view or PDF export.
Example: Campaign Performance Dashboards
If you’re running ads or content campaigns, consider:
- Connect Facebook Ads / Google Ads / Google Analytics directly to Looker Studio (no extra tool).
- Create one dashboard per client with: top campaigns, spend, clicks, conversions.
- Set Looker Studio to automatically refresh data daily.
- Give clients “view‑only” access so they can check performance anytime.
This removes a lot of copy‑paste work from monthly or weekly reports.
Limitations, Costs, and Security Notes
- Costs:
- Google Sheets and Looker Studio are usually included in Google Workspace.
- Zapier or Make may require paid tiers as the volume of data grows.
- Security & privacy:
- Limit who can edit master reporting sheets—use “view‑only” sharing for most staff and clients.
- For client dashboards, carefully scope what accounts/data sources are connected so you don’t accidentally show data from other clients.
- Limitations:
- Spreadsheets can get messy over time; plan occasional cleanups.
- If your data volume becomes huge, you may outgrow Sheets and need a lightweight database, but most small/mid‑sized agencies are fine for a long while.
Keeping Reporting Automations Maintainable
- Start small.
Don’t automate every metric. Start with one simple report: “Active projects and their statuses,” or “Hours logged per client per week.” - Name things clearly.
Use tab names like01_Raw_Data_Projects,02_Reports_Weekly_Statusso others know what’s what. - Add a “How this works” tab.
A short explanation: “Data from Asana comes in via Zapier. Do not edit the raw data tab; use filters in the Reports tab.” - Review permissions quarterly.
Make sure ex‑clients and ex‑employees don’t still have access to dashboards.

Keeping Everything Manageable Without an IT Team
As you add automations, treat them as part of your process, not magic.
Some general tips:
- Create a simple “Automation Register.”
A Notion page or Google Doc listing:- Name of automation (“Client‑Ready folder → Slack alert”)
- Tools involved
- Owner
- What triggers it and what it does
- Last reviewed date
- Use “test” environments.
Before automating for a big client, test in an internal project or with a smaller client. - Limit the number of tools you use.
It’s better to go deep with 3–5 tools than shallow with 15. Many platforms overlap (e.g., project tools often do basic approvals and light reporting). - Train by example.
Record short Loom videos showing “Here’s what happens when you move a card to ‘Needs Client Approval’” and share them in onboarding materials.

Getting Started: A 7‑Step Checklist
You don’t need to do everything at once. Here’s a practical starting sequence:
- Pick one client and one workflow to improve first.
For example, “Design file handovers for Client Acme” or “Status reporting for our top 5 retainers.” - Standardize the basics.
Agree on:- Folder names in Drive/Dropbox
- Project board columns/statuses
- Who is responsible for approvals and handovers
- Choose your core tools.
Decide on:- One project/work tool (Asana, Trello, Monday.com, or ClickUp)
- One file storage (Google Drive, Dropbox, or OneDrive)
- One automation platform (Zapier or Make)
- Implement one simple “starter” automation per area:
- File handover: “Client‑Ready folder → Slack or email alert.”
- Approvals: “Move task to ‘Needs Client Approval’ → email client with review link.”
- Reporting: “New/updated task → add/update row in a Google Sheet.”
- Test with your own team before involving clients.
Run through 2–3 fake projects. Check: Are notifications clear? Are links correct? Is anything noisy or confusing? - Document in plain language.
Create a 1–2 page “How our workflows and automations work” doc for internal use. Include screenshots, not technical jargon. - Review after 30 days and refine.
Ask the team:- What’s saving you time?
- What’s annoying or not useful?
- What else should we automate next?
By layering small, reliable automations on top of the tools you already use, your agency can reduce admin time, cut errors, and free your team to focus on the work clients actually pay you for—without ever hiring a developer.