
What to Do When a Photographer’s Laptop or External Drive Fails Before Delivery
A laptop stops booting. An external drive disappears. A memory card shows an error just as a client gallery is due.
These situations are frightening, but panic can make data loss worse. The safest response is usually not to “try everything,” but to stop, preserve the evidence, determine whether a usable backup exists, and work from a safe copy.
This guide provides a practical incident-response process for photographers, editors, and small creative studios. Exact steps vary according to the operating system, file system, drive type, encryption, backup software, and failure symptoms. When important files are at risk, consult current vendor documentation and a qualified data-recovery professional.
Important distinction: Restoring from a backup means copying known-good files from another location. Data recovery means attempting to retrieve files from a damaged, corrupted, deleted, or inaccessible device. Recovery is more uncertain and can become harder if the original device is altered.
Emergency checklist
If a device or drive fails shortly before delivery:
- Stop using it. Do not continue editing, exporting, downloading, or browsing files on the suspect device.
- Do not initialize, format, repartition, or repeatedly restart it.
- Disconnect affected drives safely where possible. Do not pull cables while data is actively being written.
- Label the device and record what happened, including error messages, noises, smells, drops, liquid exposure, and recent actions.
- Protect memory cards and original media. Do not rename, move, delete, or edit files on the only surviving copy.
- Find every possible backup, including RAW files, catalogs, sidecars, presets, exports, and project files.
- Restore to a separate healthy drive, never back onto the failed source.
- Do not run repair tools or recovery software on the original unless you understand the risks and have an appropriate image or clone.
- Escalate quickly if the device clicks, burns, gets unusually hot, disappears, has liquid damage, or shows other signs of physical failure.
- Notify the client early enough to manage expectations, using calm, factual language.
1. Stabilize the situation and prevent further damage
Stop using the failed or suspect device
If a laptop is still running but a drive is behaving strangely, stop opening files and stop editing. If an external drive disconnects, becomes extremely slow, or produces errors, stop copying data to or from it.
Even ordinary activity can change the device:
- Opening a catalog may update it.
- Editing may overwrite portions of an image or sidecar file.
- Exporting may consume space needed for recovery.
- Operating-system repair processes may alter file-system structures.
- Repeated boot attempts may increase stress on a failing drive.
If the laptop contains the only copy of a project, shut it down normally if it is responsive and safe to do so. If it is frozen, repeatedly restarting it is not a recovery strategy. Record what is happening and seek advice before taking further action.
Do not reformat, initialize, repartition, or repeatedly restart
Messages such as “This disk must be initialized before use” or “The volume needs to be formatted” can be misleading. Accepting the prompt may overwrite information needed to locate existing files.
Do not:
- Format or initialize the drive.
- Create a new partition.
- Delete and recreate a volume.
- Run a “quick fix” without understanding what it changes.
- Reinstall the operating system over the affected disk.
- Keep restarting a machine that has a failing drive.
- Continue working from a nearly full or unstable disk.
A repair utility may be appropriate in some ordinary file-system problems, but it can also modify metadata. If the data is irreplaceable, preserve the device first and obtain qualified advice.
Disconnect, label, and document
When the device is no longer being used:
- Eject external volumes using the operating system when possible.
- Disconnect cables without forcing connectors.
- Remove memory cards only after the camera or reader is powered down.
- Label each item clearly, such as “Camera card A,” “Edit laptop internal drive,” or “Project drive 2.”
- Keep adapters, cables, power supplies, and encryption keys with the relevant device.
Write down:
- The date and approximate time of the failure.
- The project and folders involved.
- Error messages, preferably with photographs or screenshots.
- Whether the device was dropped, exposed to liquid, overheated, or disconnected during writing.
- Any clicking, grinding, buzzing, burning smell, or unusual heat.
- What was done immediately before the problem appeared.
- Whether files were deleted, renamed, moved, or formatted.
- The operating system, drive model, and encryption status if known.
This information helps a technician distinguish a logical problem from possible physical damage.
When professional data recovery is safer
Professional help is especially important when:
- A hard drive clicks, grinds, beeps, or repeatedly spins up and down.
- The device disappears from the computer or appears with the wrong capacity.
- There is a burning smell, liquid damage, smoke, or severe overheating.
- The drive was dropped or suffered impact.
- The storage device is encrypted and the recovery process is unclear.
- The data exists on only one device.
- The device contains a large current client project and the deadline is close.
- A previous repair or recovery attempt has already changed the device.
Do not open a hard drive or attempt invasive hardware repairs. Modern storage devices contain precisely aligned components and may require controlled equipment. Opening or modifying one outside an appropriate facility can reduce the chance of a successful recovery.
2. Preserve original media
The original media may be a memory card, camera, laptop SSD, external hard drive, NAS volume, or removable drive. Treat it as evidence of the original state of the project.
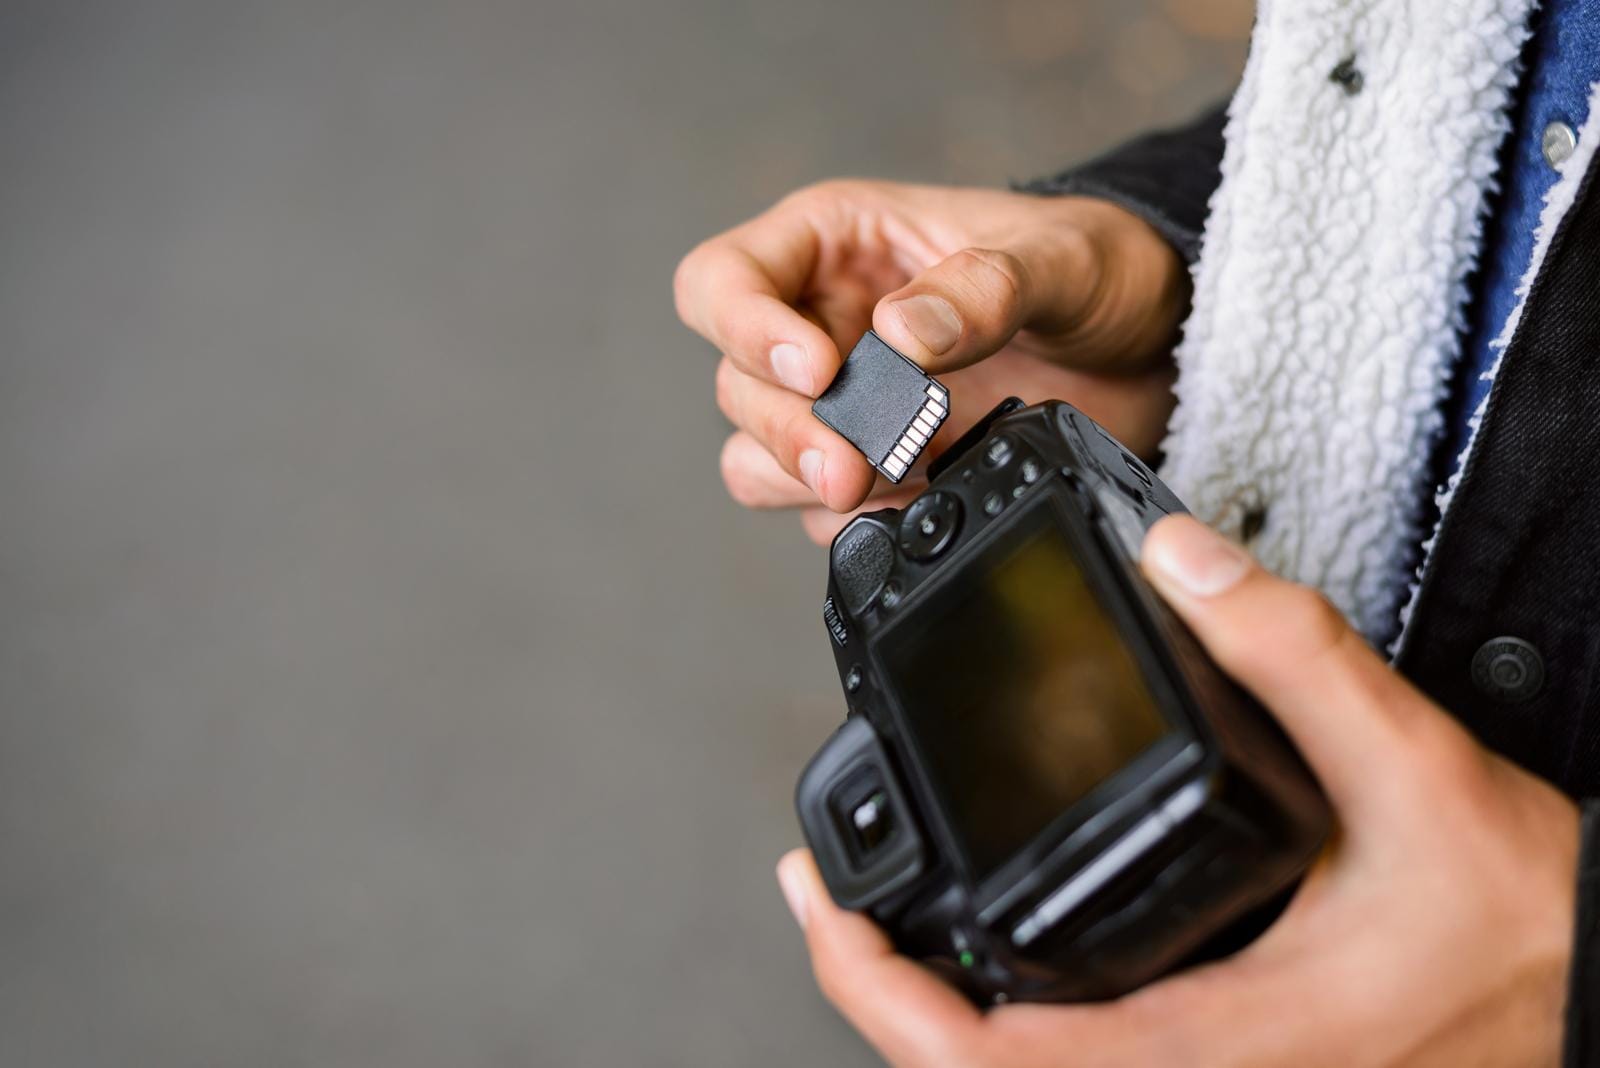
Protect memory cards and cameras
If the files were recently captured:
- Stop using the memory card immediately.
- Do not take additional photographs on it.
- Do not format it in the camera.
- Do not allow automatic import or synchronization to modify its contents.
- Keep it in a protective case.
- Record which camera, shoot, and date it belongs to.
If the camera is not behaving normally, remove the card only according to the manufacturer’s instructions. Do not assume that a camera warning means the images are permanently gone; it may indicate a card, reader, file-system, or camera issue.
Preserve the original file structure
Do not reorganize the only surviving copy. Avoid renaming folders, changing filenames, moving images, deleting rejects, or converting RAW files in place.
The original structure may contain more than visible image files. It may include:
- RAW photographs.
- JPEG previews.
- Video clips.
- Audio or behind-the-scenes recordings.
- Lightroom, Capture One, or other catalog files.
- XMP sidecar files.
- Camera metadata.
- Presets and profiles.
- Retouching files.
- Layered project files.
- Export settings and delivery folders.
- Checksums or manifest files.
A folder that appears incomplete may still contain recoverable information. Changing its contents can make comparison with backups more difficult.
Understand the type of problem
A useful first classification is:
Failed device
The computer cannot detect the storage device, or the device shows clear physical symptoms. This may require professional evaluation. Do not repeatedly reconnect it simply to see whether it works again.
File-system corruption
The device is detected, but folders or files cannot be opened, the volume is reported as unreadable, or filenames appear damaged. The underlying data may still exist, but repair attempts can alter file-system metadata.
Accidental deletion
Files were intentionally or accidentally deleted, but the device otherwise appears normal. Stop using the device immediately because new data may overwrite deleted content. Recovery may be possible, but it is not guaranteed.
Suspected physical damage
The device suffered impact, liquid exposure, electrical damage, severe heat, or unusual mechanical noises. Treat this as a professional-recovery situation rather than a software troubleshooting exercise.
These categories can overlap. A file-system error may follow physical failure, and a device that appears normal may still be deteriorating.

3. Assess and restore backups
Once the originals are stable, identify whether the project can be restored from a known-good copy.
Use the 3-2-1 backup principle
A practical baseline is:
- Three copies of important data.
- On two different types of media.
- With one copy off-site or offline.
For a wedding shoot, for example, copies might include:
- The original memory card or working project drive.
- A separate local backup drive.
- An encrypted cloud or geographically separate backup.
The principle is not a guarantee. It is a way to reduce the chance that one hardware failure, mistake, theft, malware incident, or environmental event removes every copy.
RAID, synchronization, and cloud storage are not automatically backups
RAID can improve availability if one drive fails, but it is not necessarily a backup. Accidental deletion, corruption, ransomware, fire, or a controller failure can affect the whole array.
Synchronization keeps locations aligned. If a file is deleted or corrupted and the change synchronizes everywhere, the problem may spread rather than provide protection. Some services offer version history or recovery windows, but those features must be configured and tested.
Cloud storage can be a valuable off-site copy, but a synchronized cloud folder is not automatically a complete backup. Files may be excluded, overwritten, deleted, inaccessible because of account or encryption problems, or retained for less time than expected.
A proper backup should have an intentional retention policy, sufficient capacity, access controls, and a way to restore earlier versions.
Inventory every relevant backup
Look beyond the RAW images. Check for:
- Camera-card copies.
- Local backup drives.
- NAS snapshots.
- Cloud backup systems.
- Off-site drives.
- Client proofing or gallery exports.
- Delivered JPEGs or TIFFs.
- Catalog backups.
- XMP sidecars.
- Presets and custom profiles.
- Photoshop, Affinity, or other layered files.
- Video project files and linked media.
- Exported galleries.
- Invoices, shot lists, captions, and metadata.
- Automated laptop backups.
Do not assume a backup is complete because the folder exists. Compare dates, file counts, folder sizes, and project coverage.
Verify completeness and integrity
Before resuming work, open a representative sample from the backup:
- Several RAW files from different folders.
- Current client selects.
- A few edited images.
- Recent exports.
- Catalog or project files.
- Sidecars and presets.
- Any video or audio files involved.
Where available, use checksums, backup verification reports, or the backup application’s integrity checks. Confirm that the restored files open in the intended applications and that metadata, ratings, collections, adjustments, and links are present.
A backup that contains only the image files may not contain the edit history. A catalog without the RAW files may open but show missing originals. A set of exports may satisfy delivery while leaving the editable project unavailable.
Restore to a separate healthy drive
If a usable backup exists, restore it to a separate, healthy destination. Do not restore over the failed source and do not use the suspect device as the working destination.
A safe temporary structure might include:
Project_Restored_ReadOnlyProject_Working_CopyProject_ExportsProject_Notes
Keep the restored source unchanged until you have verified that the working copy is complete. If possible, make a further backup of the restored project before significant edits.
4. Recover work safely
If no complete backup exists, you may need data recovery. This is different from restoring files from a backup: the recovery process attempts to reconstruct or extract data from the damaged source.
Prioritize what matters most
Make a recovery priority list:
- Irreplaceable original RAW files.
- Current edits and layered retouching files.
- Client selects and proofing images.
- Final exports already created.
- Metadata, ratings, keywords, captions, and edit instructions.
- Catalogs, sidecars, presets, and project files.
- Supporting documents and delivery records.
Priorities may differ by project. If final exports already exist in a client gallery, the original RAW files may still be the highest priority for long-term value, while the exports may be the fastest way to meet the immediate deadline.
Work from a clone or disk image when possible
Recovery software should ideally be used on a sector-by-sector clone or disk image, not on the original device. The original should be preserved while attempts are made on the copy.
This requires suitable storage and careful handling. A clone of a failing device may itself be difficult or may need specialized equipment. If the drive is making unusual noises, disappearing, or showing physical symptoms, stop before attempting a clone and consult a professional.
Never save recovered files back to the affected device. Writing there can overwrite information that has not yet been recovered. Use a separate healthy drive with enough capacity for the recovered data and any working files.
Be cautious with repair tools
Repair tools can be useful in some circumstances, but they may change directory structures, allocation information, timestamps, or other metadata. A tool that makes a volume appear accessible may also make later recovery more difficult.
Do not run repair commands merely because the operating system offers them. First determine:
- Whether the device is physically stable.
- Whether a verified backup exists.
- Whether an image or clone can be made.
- What changes the tool will make.
- Whether the tool can operate on a copy.
If the data is valuable or the symptoms are unclear, seek professional guidance.
Escalate for physical or complex failures
Use a qualified data-recovery professional when there are:
- Clicking, grinding, scraping, or repeated spin-up sounds.
- Burning smells, liquid damage, or severe heat.
- A device that is not detected or reports an implausible capacity.
- Encryption or password issues.
- A damaged connector or circuit board.
- A failed SSD or memory card with no readable volume.
- A previous failed recovery attempt.
- Multiple failed drives in a RAID or NAS.
- No backup and an irreplaceable project.
Ask what diagnostic process is proposed, whether the original device will be preserved, what costs may apply, and what information they need from you. Avoid providers who promise guaranteed recovery without examining the device.
Recovery is not always possible. The aim is to protect the remaining information and make informed decisions, not to promise an outcome that cannot be known in advance.

Do not do this
Avoid the following common reactions:
- Do not format or initialize a drive because the computer requests it.
- Do not repeatedly unplug and reconnect a clicking drive.
- Do not keep restarting a failing laptop.
- Do not continue shooting on a problematic memory card.
- Do not rename, sort, delete, or edit the only surviving copy.
- Do not install recovery software onto the affected device.
- Do not save recovered files to the affected device.
- Do not run repair tools before preserving a clone or obtaining advice.
- Do not open a hard drive.
- Do not attempt invasive circuit-board or mechanical repairs.
- Do not assume RAID, synchronization, or a cloud folder equals a tested backup.
- Do not tell the client that everything is permanently lost before the assessment is complete.
- Do not conceal a realistic delivery risk until the deadline has passed.

5. Contact the client
When to notify the client
Notify the client when the incident could realistically affect the agreed delivery date, file quality, selection process, or confidentiality. You do not need to contact them for every minor technical interruption if a verified backup allows you to continue normally.
However, do not wait until the deadline if:
- You cannot access the only working copy.
- Restoration or recovery will take significant time.
- You need the client to approve a revised delivery sequence.
- You may be able to deliver previews or a partial set first.
- A third-party recovery provider is involved.
Early communication gives you room to solve the problem without creating a last-minute surprise.
Communicate facts, not speculation
A good update should state:
- What is affected.
- What you have already done to protect the files.
- Whether a backup or recovery process is underway.
- When the client will receive the next update.
- Any realistic change to the schedule.
Avoid technical jargon unless the client needs it. Do not claim that files are permanently lost unless a qualified assessment supports that conclusion. Also avoid promising that recovery will succeed.
Protect confidentiality. Do not upload client images to an unapproved service or share them with a recovery provider without considering contracts, permissions, privacy obligations, and secure-transfer requirements.
Client-notification template
Subject: Update on your [project name] delivery
Hi [Client name],
I’m writing to let you know about a technical issue affecting the working files for [project]. I have stopped using the affected device and preserved the original media while I work from the available backup/recovery copies.
My current plan is to [restore and verify the backup / create a safe working copy / consult a qualified data-recovery professional]. I will send you another confirmed update by [date and time].
The current delivery expectation is [original date / revised date or staged delivery plan]. If necessary, I can provide [verified previews, selected exports, or another agreed interim deliverable] by [date].
I’m treating your files confidentially and will avoid making claims about the final outcome until the assessment is complete. I’m sorry for the uncertainty and will keep you informed with confirmed information.
Best,
[Name]
Adjust the template to match the facts. Do not describe a backup as complete until you have verified it.

6. Recover operations and prevent recurrence
Create a temporary working environment safely
Only create a new working environment after preserving the originals and identifying the safest source.
Use:
- A healthy computer, if available.
- A separate working drive with adequate capacity.
- A restored copy of the project.
- A clear naming convention, such as
Project_Working_2026-09-24. - Read-only protection for preserved originals where practical.
- A separate export folder.
Avoid mixing recovered files, restored files, and newly edited files without recording their origin. Keep notes about which images came from which source.
If the original project was stored in an application catalog, relink the catalog to the restored media rather than changing the preserved source. Confirm that ratings, collections, edits, metadata, and presets behave as expected before committing to a large export.
Record the incident
Create an incident record containing:
- Date and time.
- Devices and serial numbers, if available.
- Project name and affected folders.
- Symptoms and error messages.
- Actions taken.
- Backups located and their dates.
- Recovery or restoration steps.
- Files successfully recovered.
- Final delivery status.
- Recommendations for preventing recurrence.
This is not about assigning blame. It helps a studio learn whether the failure involved an untested backup, a missing off-site copy, unclear folder ownership, insufficient storage, or an unsafe workflow.
Confirm the final delivered files
Before delivery:
- Open a sample of the final files.
- Confirm resolution, color profile, file format, and naming.
- Check that the delivery folder contains the intended number of files.
- Confirm that download or gallery links work.
- Preserve a copy of what was delivered.
- Record the delivery date and any remaining follow-up items.
If the project was recovered under pressure, schedule a later review to confirm that the long-term archive is complete—not just that the immediate delivery succeeded.

Final prevention checklist
A resilient photography workflow should include more than one protection layer.
Backups and versioning
- Maintain at least three copies of important work.
- Use two different media types.
- Keep one copy off-site or offline.
- Back up memory cards promptly, while retaining the cards until delivery and archiving are complete.
- Enable version history or snapshots where appropriate.
- Configure retention periods long enough for the studio’s needs.
- Test restoring files, not merely creating backups.
- Include catalogs, sidecars, presets, exports, layered files, and project documents.
Hardware and power
- Use a UPS or suitable surge protection for desktops, storage systems, and network equipment.
- Replace drives according to condition and risk, not only after failure.
- Monitor drive health where the device and operating system support it.
- Keep adequate free space on working and backup drives.
- Use reliable cables, readers, and power adapters.
- Protect equipment from heat, moisture, dust, impact, and unstable power.
Workflow controls
- Use consistent project folder structures.
- Separate originals, working files, exports, and archives.
- Avoid editing directly on memory cards.
- Use versioned filenames or application history for major milestones.
- Keep a delivery manifest or checksum record for critical jobs.
- Restrict access to client files.
- Document who is responsible for backups and verification.
Cloud and off-site protection
- Choose a cloud or off-site service with appropriate security, retention, and recovery features.
- Confirm that the service backs up the folders and file types you actually use.
- Review encryption and account-recovery arrangements.
- Maintain a separate recovery method if the cloud account becomes unavailable.
- Periodically test downloading and opening archived projects.
Written recovery plan
Document:
- Who makes the initial incident decision.
- Which devices should be disconnected.
- Where backup credentials and encryption keys are stored securely.
- Which recovery provider or IT professional should be contacted.
- How clients should be notified.
- How confidentiality and access permissions will be handled.
- How a restored project is verified before delivery.
- How often the plan is tested.
A failed laptop or drive does not automatically mean a project is lost. The most important first move is to stop changing the affected media. Preserve the originals, distinguish restoration from recovery, use verified copies where possible, escalate physical failures promptly, and communicate honestly. A calm, documented response gives you the best chance of protecting both the files and the client relationship.